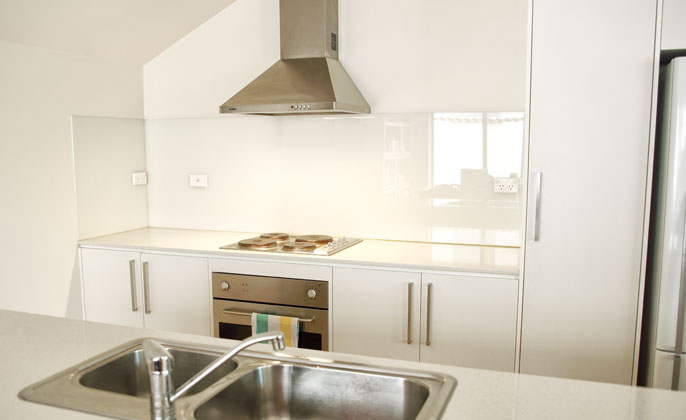
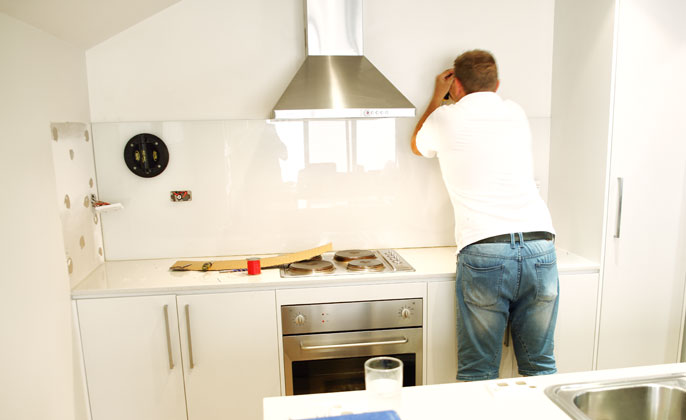
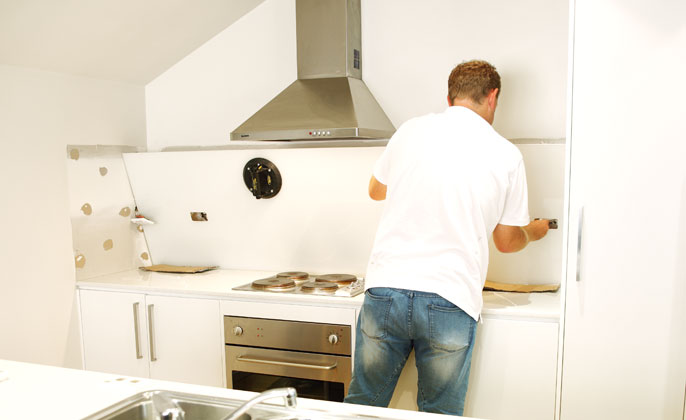
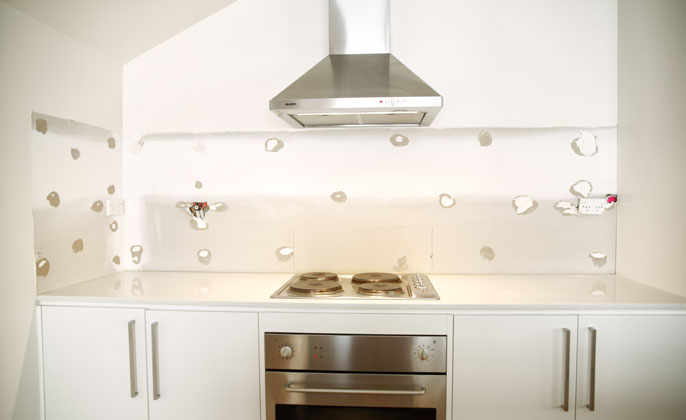
After a few more delays… we are excited to report our renovation works have begun! Step one – the removal of our ugly duckling splashback.
Question: if I have an existing splashback, do I have to remove it before putting in the new one?
We are often asked this question, and the answer is, “you do not necessarily have to remove your existing splashback.” The option to simply put the new splashback over the top of the existing one – is one possible option. There are a few things to consider – before deciding.
When leaving your existing splashback, and putting a new one on top – considerations include:
1. Will you be happy with your final splashback depth? Picture the depth of your new splashback (from the wall). It would be the depth of your existing splashback plus another 8-10mm. Will you be happy with the extra thickness of your final splashback?
2. Is the existing old splashback surface reasonably flat? Ideally the surface will be quite flat and even. But even if it is a little wonky (with uneven tiles for example) – fitting a new splashback over the top may still be possible. Our Glazier could evaluate the existing surface, and make a recommendation.
3. And finally, in terms of compliance with regulations: where you have a gas cook top, the distance between the face of your new splashback, and the edge of the heat source (gas burner) will need to be not less than 140mm. This aspect may be the determining factor influencing the removal of the existing splashback.
For us… we did not ponder the ‘considerations’ at length. There was an unspoken understanding that the existing splash – had to go. After all, it has served 7 years; it has done its time.
The removal – how was it done?
(Please note: we recommend this is a job for a professional, who is familiar with Toughened Glass. We write the steps here – just for interest.)
- The silicone seal all around the edge of the splashback was cut with a blade.
- Power point covers were removed, and then power point fittings were unscrewed and pulled out from the face of the splashback slightly.
- The attachment between the wall and the top of the splashback was broken.
- A longer blade (mini saw type tool) was pushed behind the splashback, to cut some of the adhesives (silicone blobs) holding the splashback firmly in place.
- Some fishing wire was also used to slide between the glass, and the wall – aiming to cut through some more silicone blobs. (Not all – just some.)
- After prising the splashback away from the wall at the top (just a touch), then with the assistance of a second person and a suction grip – the panel was gradually manoeuvred away from the wall. Remarkably – in one piece. The end!
- Our Glazier Jasen was doing the grunt work (and it was hard yakka getting the glass separated from the wall). Having professional assistance is certainly our recommendation.
Next Steps
On Thursday this week… we anticipate the electrical works and cabinetry installation will begin. Exciting times ahead!
Toni


