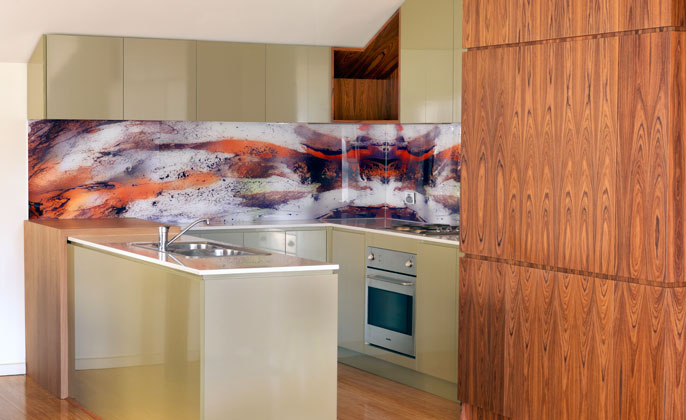
Our Kitchen Transformation – Inspired by Mother Nature

Posted by Toni Collins | Renovation, VR Blog | No Comments

‘Mother Nature as an influence is a bottomless resource – she just gives and gives and gives’.  To quote the great Megan Morton from her book – Home Love.  

When I first wrote about our kitchen in October 2013 I said,  ‘… our own kitchen is only suitable for the ‘before’ shot… ’ And now… many months down the track, we are delighted to report that our kitchen face lift is finished and I do believe the kitchen is very worthy of an ‘after’ shot. 
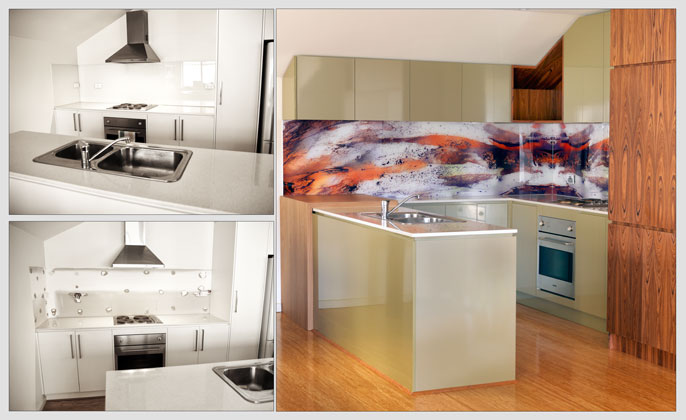
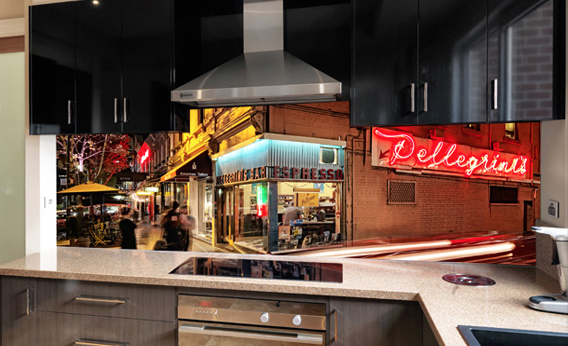
Before & After VR Art Glass Splashback

BEFORE & AFTER
Kitchen design by Patricia La Torre of Outside Inside Building Elements
Build (or more accurately the craftsmanship) by Tony Bezzina of TCB Cabinets


We often say to people who are considering a VR Art Glass splash back – the selection of the artwork… actually narrowing all of the possible visual options down to ‘the one’, can be the hardest part.   Our experience of making the artwork selection was no exception.

We were however guided by a particular inspiration that did focus the options and lead us to a final selection without too much pondering.  Given we live in an urban setting where exposed power lines and the neighbours’ external brick wall are visible from one window… the available elements of nature seen through our front window is a view we find calming and cherish.  Therefore, adding the colours and forms of our surrounding nature – an enormous tree – and downplaying the various ‘urban’ references we can see – that was the inspiration and direction for us.  Evoking a feeling of tranquillity within our urban abode… that was the aim.    

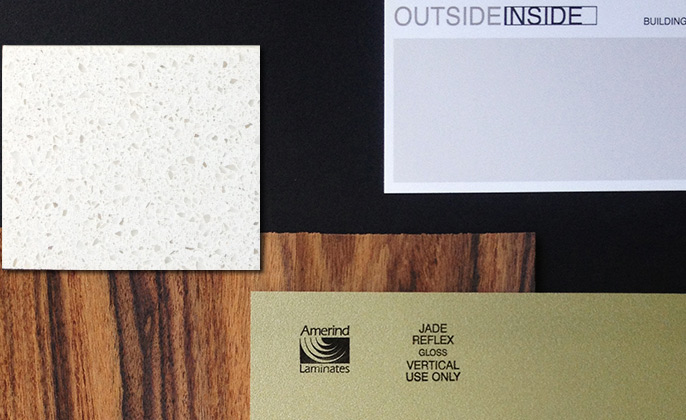
And so, without hesitation, an artwork from the ‘Elements Collection was selected, and became the design inspiration source for all kitchen materials.  Our designer Patricia La Torre said,

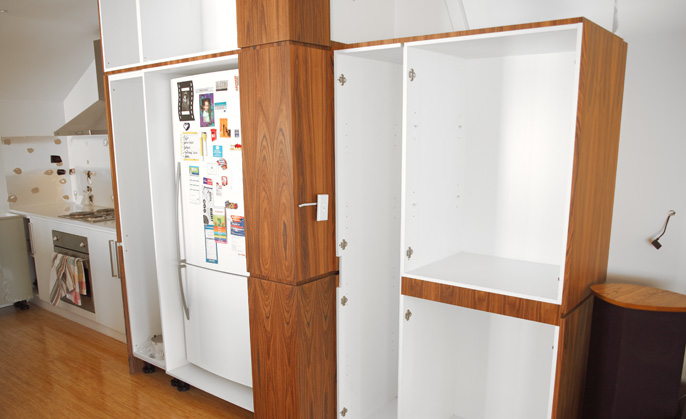
“The materials selected were customised to work in with the various colours in the artwork. With considerable movement in the artwork, it was important that the surrounding colours and materials were complimentary.  The timber panelling to the tall cabinets worked in perfectly with the warm colour in the splashback, simultaneously further connecting the artwork with movement in the grain.  By incorporating colours that relate to the artwork, then the design is more harmonious, balanced and pleasing to the eye.”     
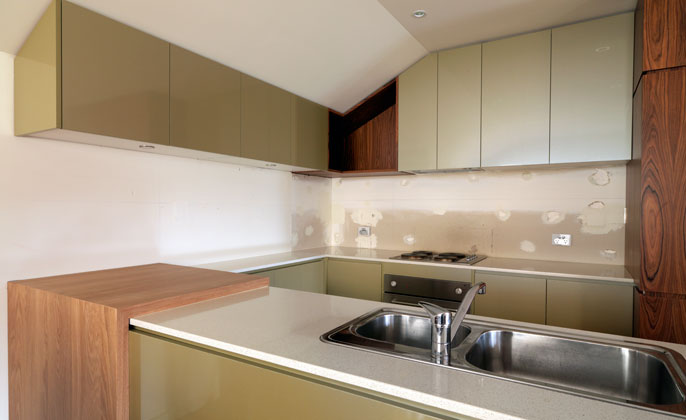
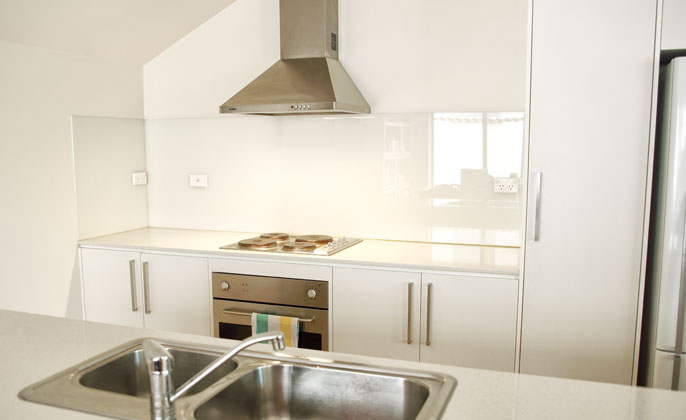
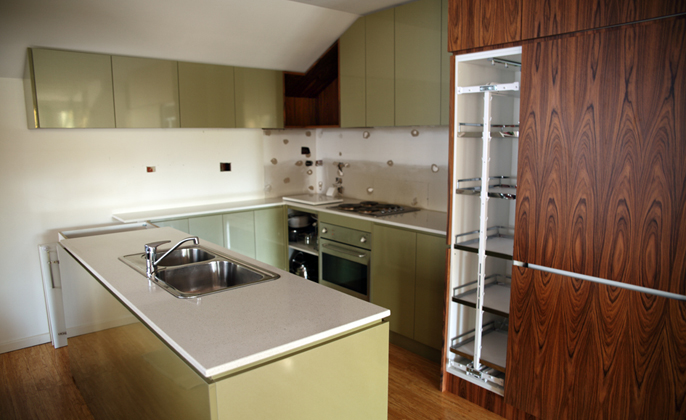
Melb kitchen prior to VR Art Glass Splashback

Our new kitchen without the VR Art Glass splashback… it’s not really working is it?
Something is certainly missing.
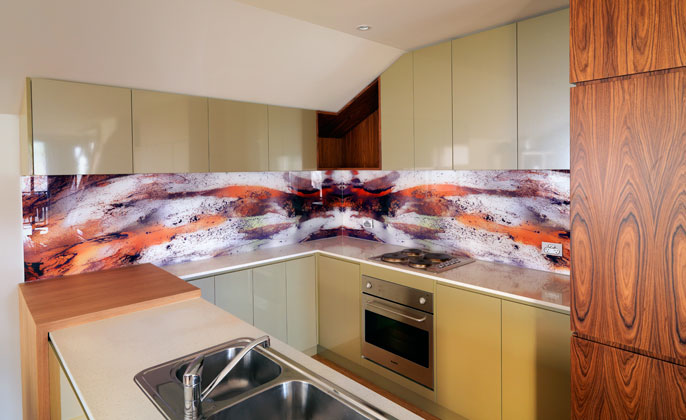
 

Melbourne Splashback VR Art Glass angle

VR Art Glass splashback in place – the kitchen is now complete!
Splashback features art from the ‘Elements Collection’
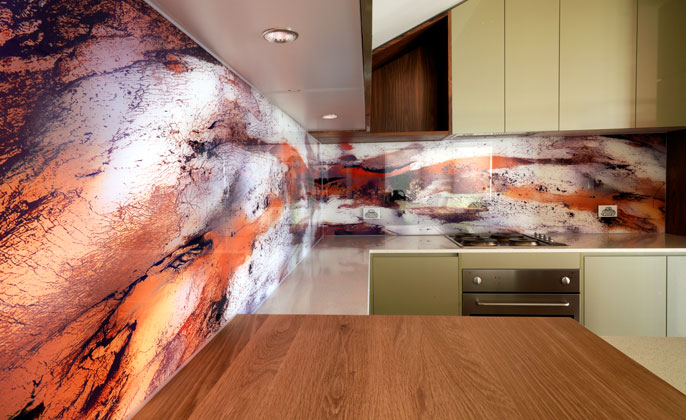
VR Art Glass Up Close - 'Elements' Artwork

“I try to incorporate some item of artwork or individuality in every design and I think a ‘feature’ glass splashback is a perfect solution!” Designer – Patricia La Torre

 

Home renovation… are we there yet?

Posted by Toni Collins | Renovation, VR Blog | No Comments

We are approaching the four-month mark on our renovation works at home.  And while the road has been slower and bumpier than we anticipated, now that the end is in sight, we love how these works are going to transform our home. 

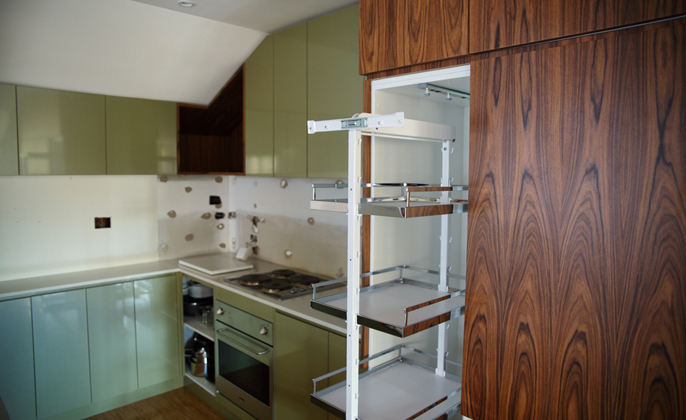
If you can remember… we started with an all white, rather plain yet functional enough kitchen.  We now have the pleasure of looking at warm timber grain and the sparkly Jade Amerind finish.  The colour and texture of the finishes are such a treat for the eye!

One of the final pieces to complete in our renovation puzzle will be our VR Art Glass splashback.  I look forward to doing the big reveal on that… in the not too distant future.

Visual Resource Home Reno 2

I am itching to stock the new pull out pantry with goodies.
I had best wait until the door is on though. Not long now – surely!

Home renovation update

Posted by Toni Collins | Renovation, VR Blog | No Comments

“How is your renovation going?”

A common question we are asked at the moment… A question asked by interested friends, the Electrician hoping to finish his work off, and the Glazier who would like to return to take a measure for the new VR Art Glass splashback.  Our reply…

“The renovation is going…slowly.”

It was January 22nd when the first new cupboards were installed into the kitchen.  (All two of them!  With many more still to come.)  Almost one month down the track… please find the ‘in progress’ shots we can share with you.      

The Joiner we are working with creates very fine work.  (A craftsman is actually how we think of him.)  He is detailed, particular and downright fussy in fact.  Not something we feel the need to harass him about…. his fine work will become our home to enjoy for many years.  (I just hope it isn’t years before he is done!)   

At this point in time… there is a renovation cliché I will grasp onto, “the results are worth the pain.”  I am assured when it is all said and done, we will forget the disruption, delays and the dust.   Here is hoping there is a kernel of truth to the cliché.    

Toni

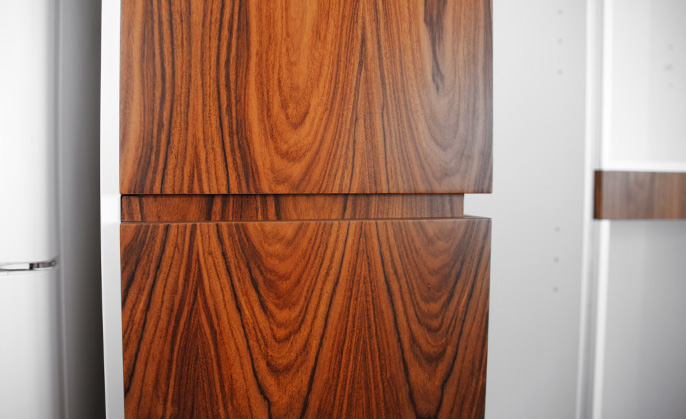
Visual Resource - home reno -shadowline detail

Craftsmanship.
Shadowline detail and matching timber grain – just lovely!


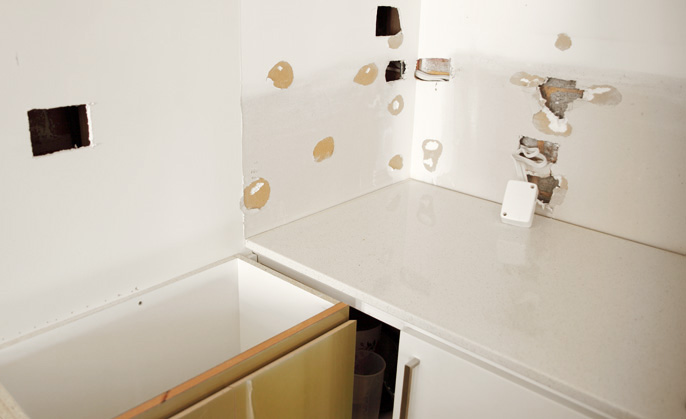
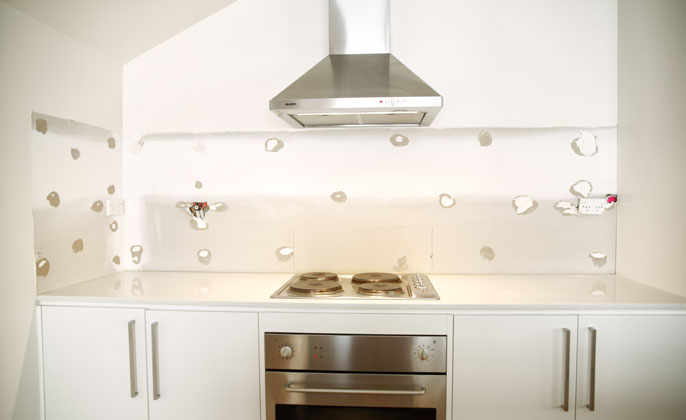
Visual Resource - home reno - arggg the holes

The ‘pain’ I mentioned…
Holes the Electrician cut in preparation for power where it has never been before.


Home renovation underway… finally!

Posted by Toni Collins | Renovation, VR Blog | No Comments

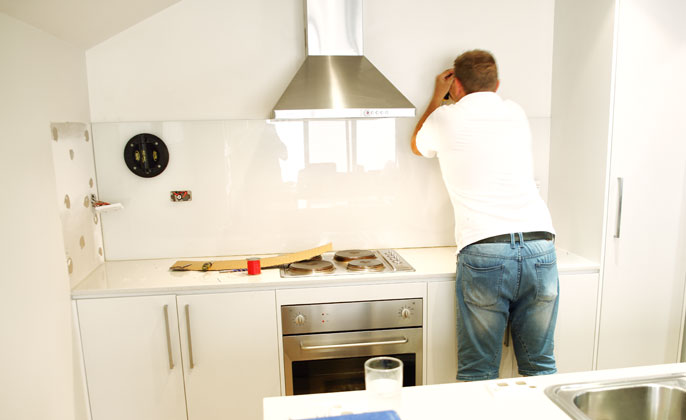
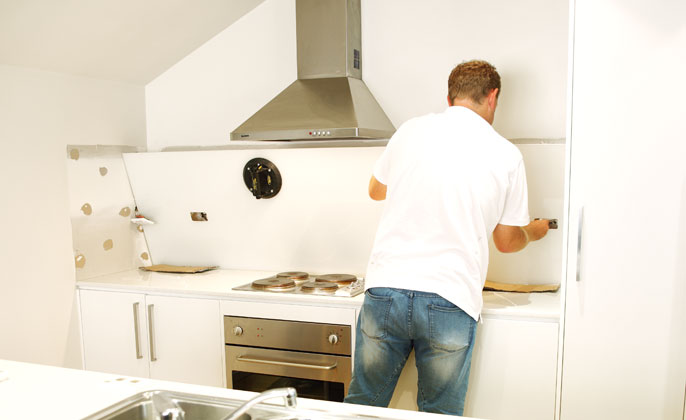
After a few more delays… we are excited to report our renovation works have begun!  Step one – the removal of our ugly duckling splashback. 

Beige Splashback Pre Removal Visual Resource

Existing splashback – ready for removal


Question: if I have an existing splashback, do I have to remove it before putting in the new one? 

We are often asked this question, and the answer is, “you do not necessarily have to remove your existing splashback.”  The option to simply put the new splashback over the top of the existing one – is one possible option.  There are a few things to consider – before deciding.

When leaving your existing splashback, and putting a new one on top – considerations include:

1.     Will you be happy with your final splashback depth?  Picture the depth of your new splashback (from the wall).  It would be the depth of your existing splashback plus another 8-10mm.  Will you be happy with the extra thickness of your final splashback?

2.     Is the existing old splashback surface reasonably flat?  Ideally the surface will be quite flat and even.  But even if it is a little wonky (with uneven tiles for example) – fitting a new splashback over the top may still be possible.  Our Glazier could evaluate the existing surface, and make a recommendation.

3.     And finally, in terms of compliance with regulations: where you have a gas cook top, the distance between the face of your new splashback, and the edge of the heat source (gas burner) will need to be not less than 140mm.   This aspect may be the determining factor influencing the removal of the existing splashback.

For us… we did not ponder the ‘considerations’ at length.  There was an unspoken understanding that the existing splash – had to go.  After all, it has served 7 years; it has done its time.

Splashback-removal Visual Resource

A longer blade (mini saw type tool) was pushed behind the splashback.


The removal – how was it done?

(Please note: we recommend this is a job for a professional, who is familiar with Toughened Glass.  We write the steps here – just for interest.)

  1. The silicone seal all around the edge of the splashback was cut with a blade.
  2. Power point covers were removed, and then power point fittings were unscrewed and pulled out from the face of the splashback slightly.
  3. The attachment between the wall and the top of the splashback was broken.
  4. A longer blade (mini saw type tool) was pushed behind the splashback, to cut some of the adhesives (silicone blobs) holding the splashback firmly in place.
  5. Some fishing wire was also used to slide between the glass, and the wall – aiming to cut through some more silicone blobs.   (Not all – just some.)
  6. After prising the splashback away from the wall at the top (just a touch), then with the assistance of a second person and a suction grip – the panel was gradually manoeuvred away from the wall.  Remarkably – in one piece.  The end!
  7. Our Glazier Jasen was doing the grunt work (and it was hard yakka getting the glass separated from the wall).  Having professional assistance is certainly our recommendation.
Splashback-removal Visual Resource-2

The panel was gradually manoeuvred away from the wall.


Next Steps

On Thursday this week… we anticipate the electrical works and cabinetry installation will begin.  Exciting times ahead!

Toni

Splashback-removed Visual Resource

Former splashback gone. The kitchen is now ready for a face lift.

Home renovation project…. more ‘before’ shots

Posted by Toni Collins | Renovation, VR Blog | No Comments
Cupboards-blog

More ‘before’ shots.
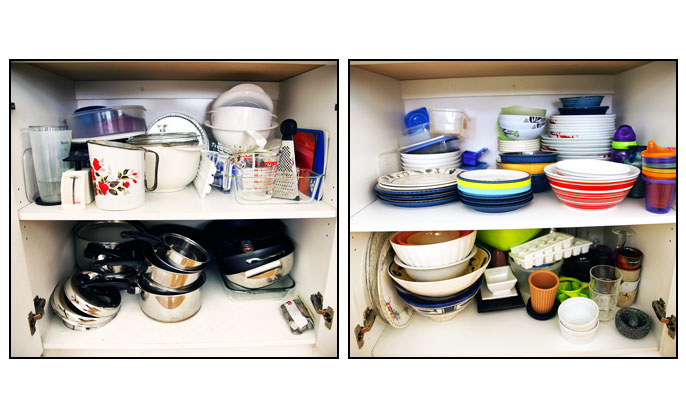
Yes, this is what our cupboards look like – all four of them.


You may recall… I mentioned our project was due to commence in November… 

Well… November came and went, and the kitchen remains a beige beauty awaiting a face-lift.

Perhaps some slippage in the schedule, a few unexpected delays here and there, is all just customary and an essential part of the renovation ‘experience’?  If this is the case, our project will be no exception and is running perfectly to script.

On the bright side – this presents an opportunity to ponder in the ‘before’ a little longer, revealing the internal machinations of our kitchen.  Yes, this is what our cupboards look like – all four of them.  (Please note: no special attention has been given to the styling, in order to dramatise or misrepresent the severity of the situation.  They really are that cluttered and dysfunctional.)

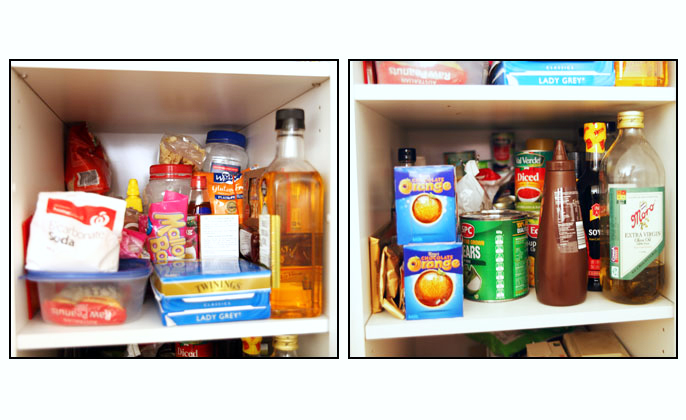
And as for the food pantry… there may be cans of soup up the back, first acquired in 2006.  It’s possible!  (I am really not sure what is going on back there.)

So what is happening next?

As of Monday Nov 25th materials arrived for our Carpenter to start fashioning these materials into something to transform our kitchen.  He is working away in his factory and around Dec 10th is when the installation at home may commence.  I will keep you posted… but those ‘after’ shots are not likely to be available until the New Year.  Sorry to keep you waiting.

Toni

Pantry-Blog

The food pantry.
There may be cans of soup up the back, first acquired in 2006. It’s possible!

What sort of splash back do you have?

Posted by Toni Collins | Renovation, VR Blog | No Comments

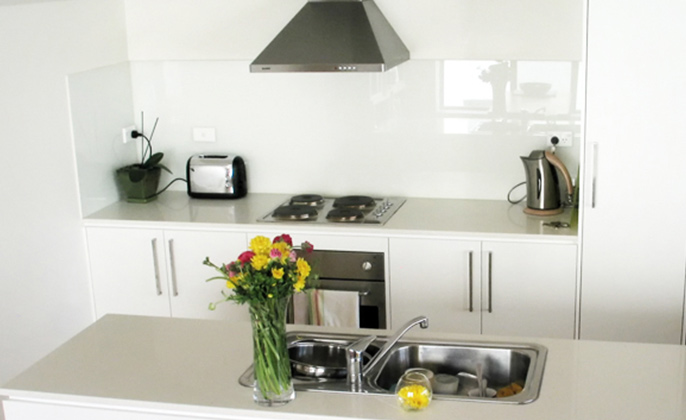
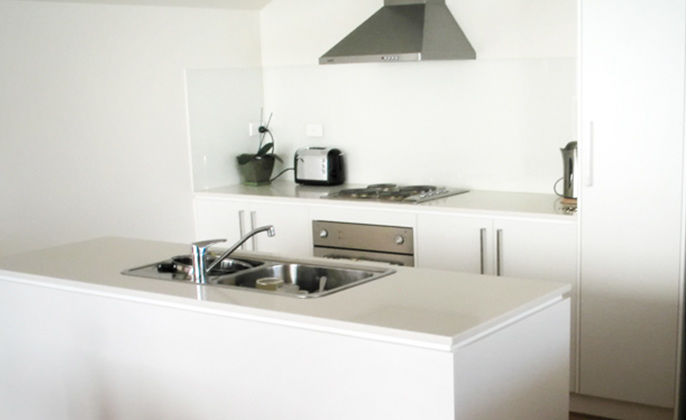
As a result of our work we are privileged to be invited into people’s homes, to play a small (yet productive) role within the disruptive process of home renovations, or new home builds. I recall meeting with a client earlier this year as we discussed artwork options for her new kitchen and she asked me, ‘what sort of splash back do you have? It must be good’. My answer was, ‘…a very ordinary one… in fact, it’s quite shameful.’ I am nothing if not honest… but you be the judge… what do you think of our kitchen? (Seen above.) While I can share case studies, showing kitchens we have provided VR Art Glass for – which look lovely, our own kitchen is only suitable for the ‘before’ shot.

Well that is soon going to change! Enter Interior Designer Patricia La Torre of Outside Inside Building Elements.

When we first met Patricia to discuss our home improvements project, our two main concerns were: storage is difficult, and home is not comfortable to live in. Being a good client, I had a brief prepared, and I wrote, ‘we love where we live, and appreciate the many positive attributes of the space. We would however like to make better use of our space and add some design features which will increase the comfort and aesthetic enjoyment of our home.”

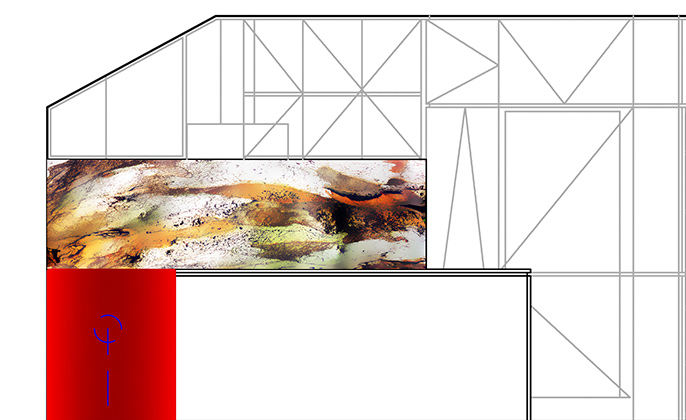
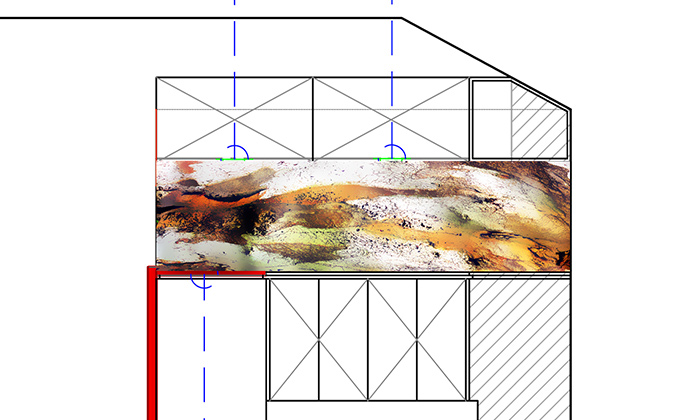
Patricia set about designing a very exciting kitchen and living area renovation. And before making selections for the finishes of cabinetry and benches, Patricia wanted our artwork choice for the splash back. Once deciding on Elements # 17, this piece provided an inspiration source for Patricia to recommend finishes and colours for the entire renovation.

The photos show you our kitchen now – the ‘before’ shot. The installation of our ‘home improvements’ project is due to commence in November, so we will share the ‘after’ shots in the very near future.

Toni

O'ShanassyStsmall2V2

Our kitchen today

Kitchenmainwall

New kitchen & living area design by Patricia La Torre of Outside Inside Building Elements.The refreshed kitchen will feature VR Art Glass – Elements #17 design.

Kitchensidewall

Kitchen Side Wall

material_board

Material board showing our finishes for the new kitchen.